

There are several liquids used to effectively manage snow and ice on parking lots, streets, and highways. But effective deicing and anti-icing requires not only the right liquids, but also the proper equipment to store, transfer, and apply these solutions efficiently.
In this guide we will cover the essential storage systems, pumps, plumbing, and sprayers needed for applying salt-brine, (sodium chloride and water), mag chloride, calcium chloride, and other de-icing liquids.

Common Deicing Liquids
Before we discuss the equipment, let's clarify the types of liquids we'll be storing and applying:
- Salt Brine, Sodium Chloride (NaCl): Approx. 1.2 specific gravity (23.5-26.4 % solution).
- Mag Chloride (MgCl₂): Approx. 1.34 specific gravity.
- Calcium Chloride (CaCl₂): Approx. 1.33 (specific gravity).
Compatible materials:
- Polypropylene
- HDPE
- PVC
- Stainless
- EPDM
- Viton
De-Ice Storage
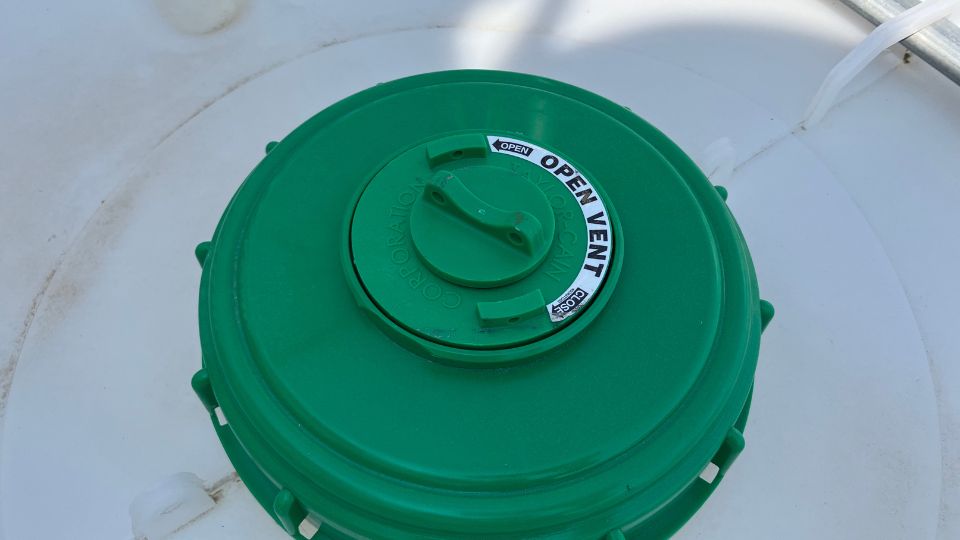
No matter what liquid deicer you are using, proper storage is essential to prevent waste and provide you with a convenient way to access and mix your batches. The type and size of your tank(s) is not the only factor to consider but also the lid, tank fittings, and plumbing.
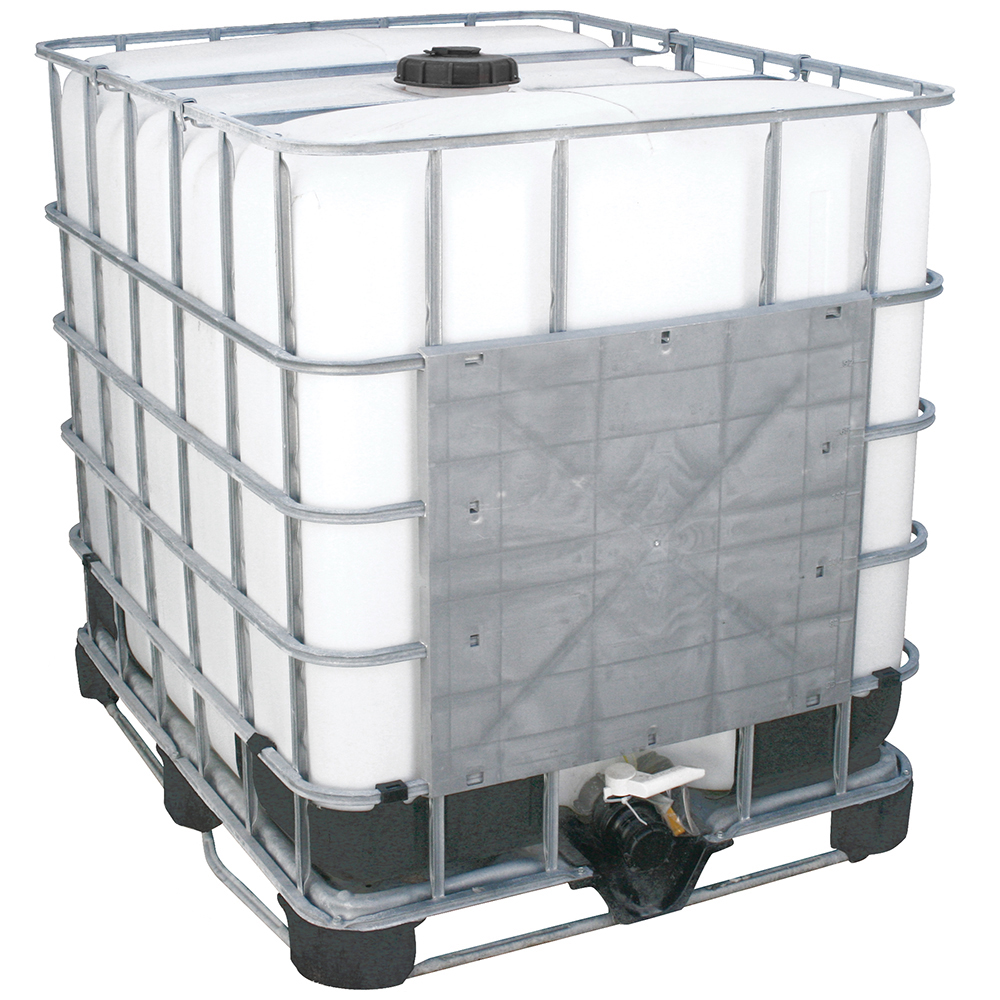
De-ice Storage Tanks
Poly tanks are the most popular storage solution for deicing liquids. Fiberglass and stainless steel can be used as well. All these tanks have an excellent lifespan and compatibility with the common de-icing fluids, although stainless and fiberglass are less common due to their cost. Carbon steel tanks are not recommended.
When storing de-ice or anti-ice fluid, we recommend polyethylene tanks strong enough to hold liquids that weigh up to 14 lbs. per gallon. This will cover the weight of any de-ice liquids. Common polyethylene tanks are a partially transparent “white” color with inhibitors to protect the tank from UV rays. Other color tanks can be used but the standard white tanks allow liquid level in the tank to be seen.
What size tank do I need for de-ice?
Poly tanks come in a wide variety of sizes and shapes. The size of your tank depends a lot on your operation. However, there are some key things to consider:
- If you purchase your liquids, is there a certain volume it is delivered in? Is there a quantity discount?
- How much brine would you need to cover all of your territory in one application?
- Do you make your own brine? If so, how fast can you make brine compared to how fast your trucks cany apply it?
- How long can your liquid be stored?
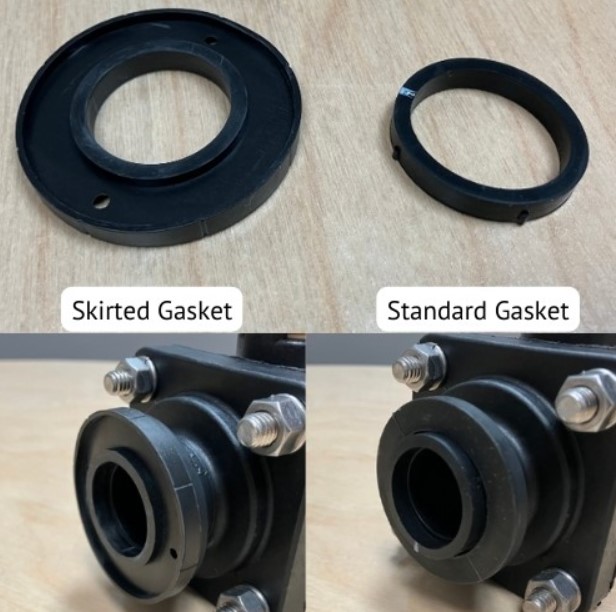
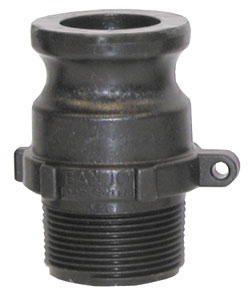
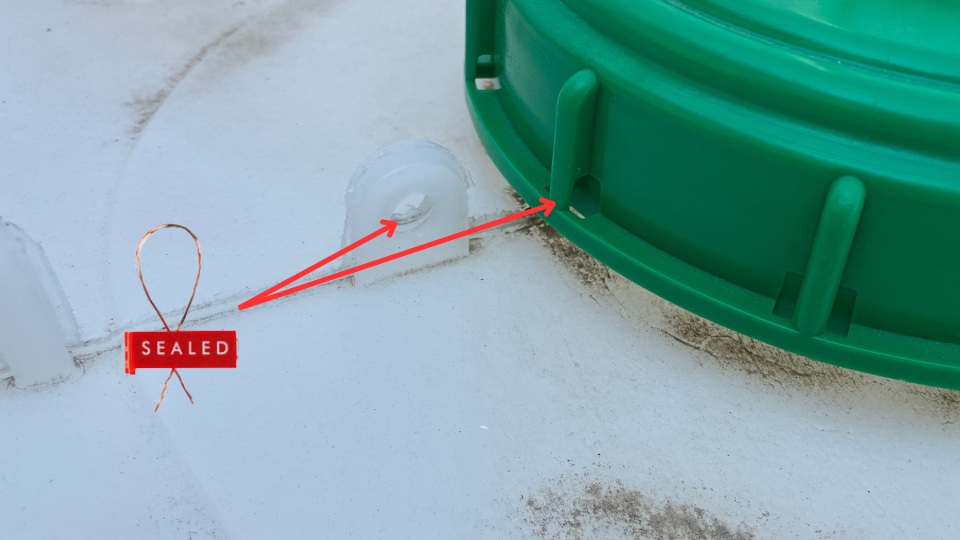
Fittings and Recirculation
Brine stratifies overtime so circulating your tanks is important. Typically, a tank will come standard with one fitting installed for load/unload. It is best to request or install multiple fittings so you can plumb a tank for recirculation.
- It's best to use tanks with two 2-inch or 3-inch fittings to facilitate adequate suction & recirculation.
- Polypropylene (polypropene) fittings are acceptable, but they can be easier to break, especially in cold temps. Stainless steel is recommended for its durability, despite the higher cost.
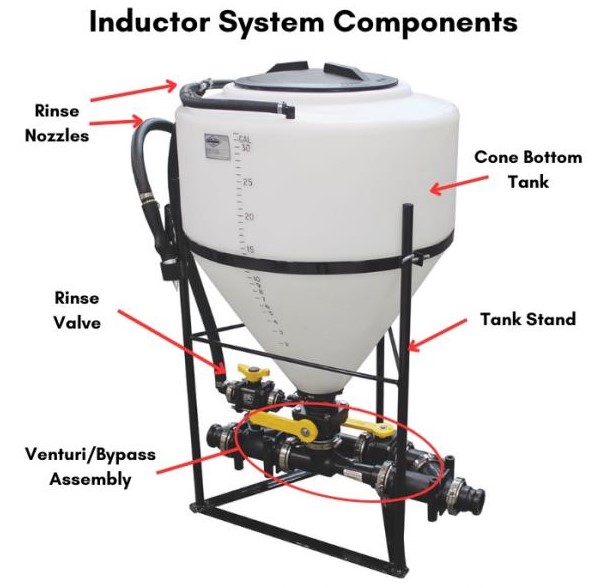
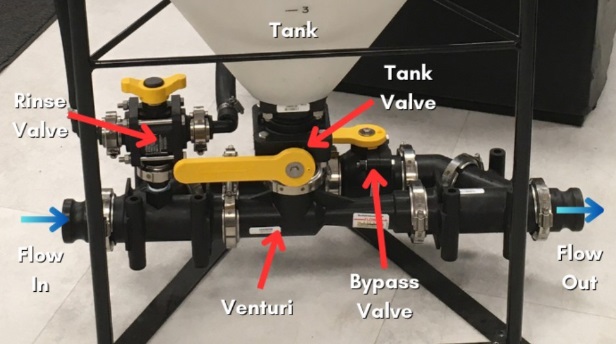
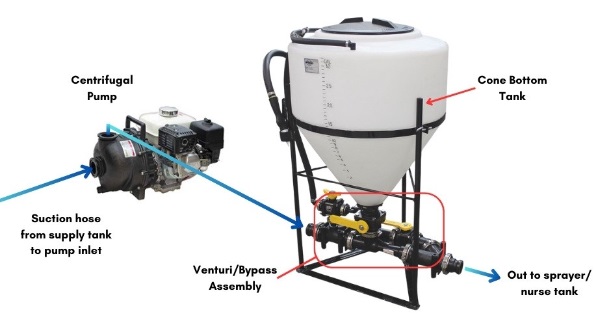
Tank Mixing Educators (TMEs)
Proper recirculation and mixing are enhanced with a tank mixing eductor. An eductor increases the agitation rate of liquid in the tank. It is both quicker and more effective than simply pumping the liquid out one tank port and into another.
Shop De-Ice Storage Tanks & Equipment
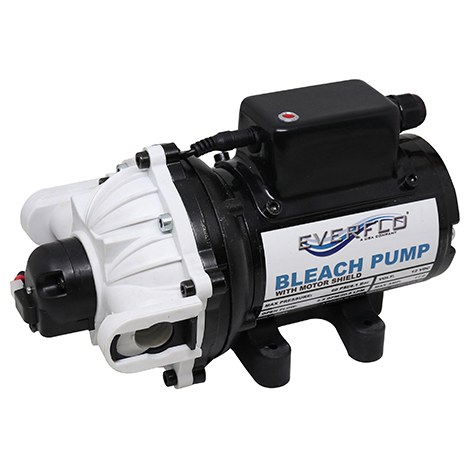
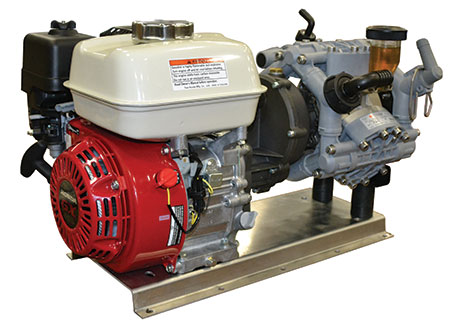
De-Ice Transfer Pumps
The next component needed for handling de-icing liquids is a transfer pump. As with the storage tanks, the best option is a pump constructed of polypropylene or stainless steel. Poly pumps are less costly, but stainless is more durable.
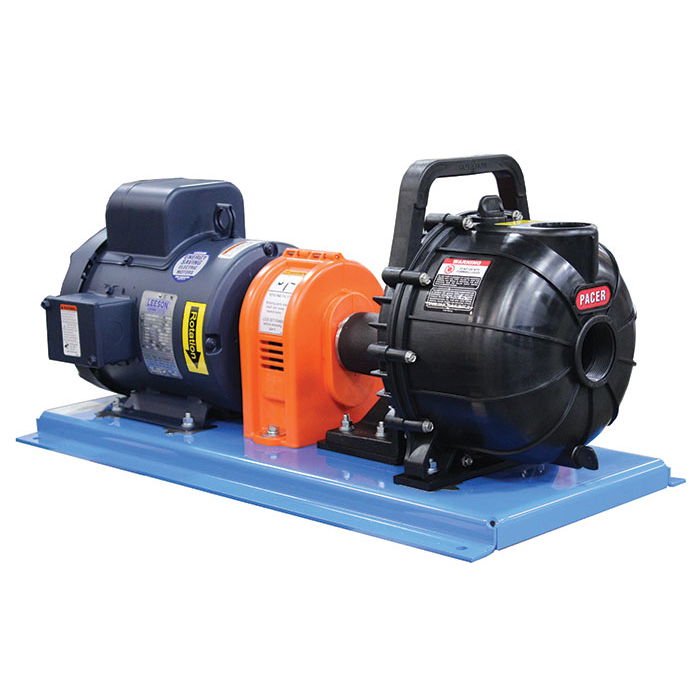
In most cases a 2-inch transfer pump is adequate, depending on the specific pump and your plumbing, you can expect 80 or more gallons per minute from a 2-inch pump. A three-inch pump can be used if higher rates are desired, 250 GPM or more.
A transfer pump for brine or other de-ice liquid should be rated to handle liquids up to a 1.4 S.G. This means that the horsepower is relatively higher than the same pump that is intended to handle water only.
Plumbing for De-Ice Transfer Pumps
Plumbing is an aspect that you should not overlook. At the risk of sounding repetitive, the hose, pipe, valves, and fittings need to be made from materials compatible with the liquid you are using and sized properly. The size of those plumbing components is vital. Your pump may be capable of 200 GPM but your plumbing will have a huge impact on whether or not you actually can achieve that flow rate.
The primary thing to ensure is that the suction pipe (the hose or pipe from the tank to the pump inlet) has an inner diameter at least the same size as the pump inlet. For example, a two-inch pump requires a two-inch inside diameter hose or pipe. If a hose is used, then it must be a suction hose that won’t collapse from the suction generated by the pump.
Why is this essential? A centrifugal pump needs the right size fluid path on the suction side to avoid cavitation. Cavitation happens when the pump is starved of adequate liquid, which can damage the pump. You can learn more about centrifugal pump operation in our guide written by our in-house engineer Tom Hansen.
Moving on to the discharge side of the pump, we still have some important guidelines to maximize your flow potential:
- Use hose or pipe that won’t restrict flow, again 2-inch hose, fittings, valves for 2-inch pumps and 3-inch for 3-inch pumps.
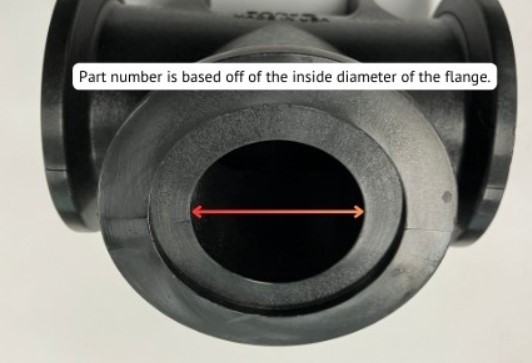
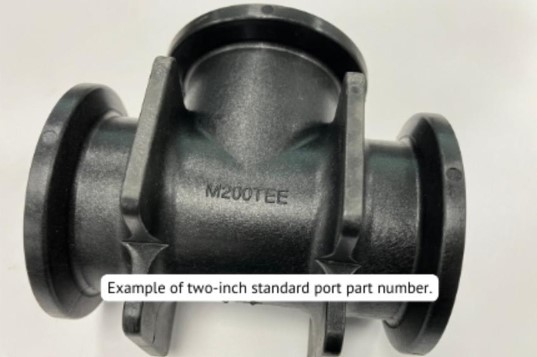
- Note that not all “2-inch” valves have a 2-inch fluid path. Some 2-inch valves actually have only a 1-½ inch fluid path. Use full 2-inch port valves and fittings to reach the full potential of the pump.
- Limit the number of restrictions in your plumbing. Elbows, valves, vertical pipe, strainers, etc. will potentially decrease your flow rate.
- Install strainer after the pump to decrease chances of cavitation.
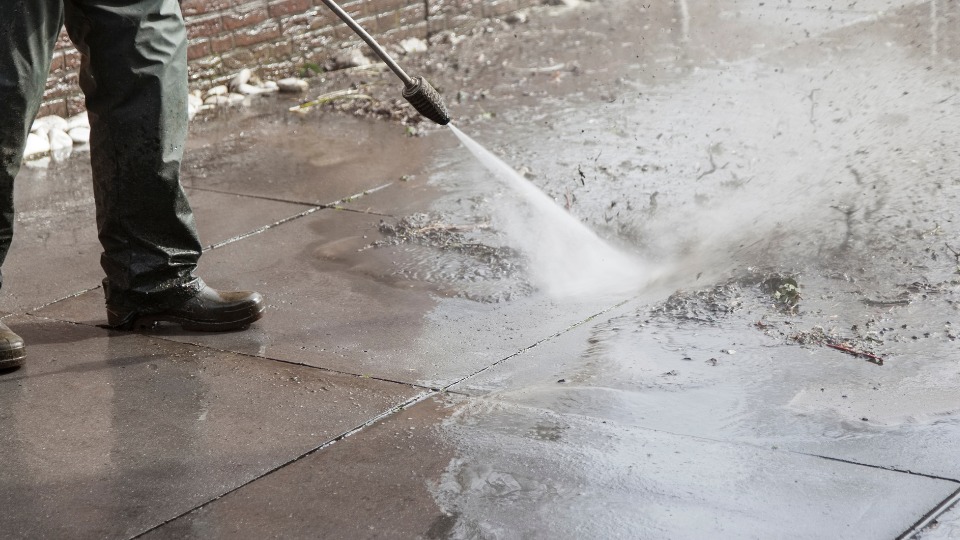
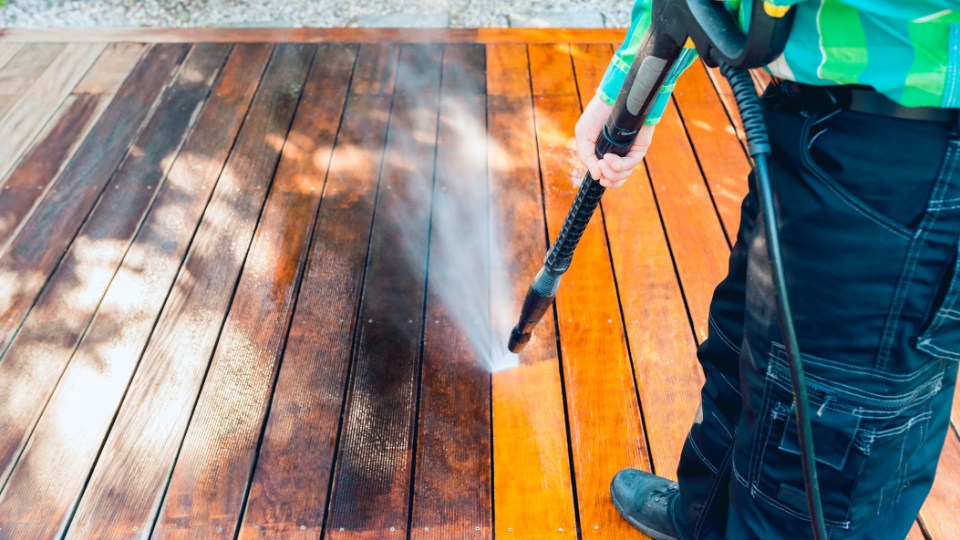
De-Ice/Anti-Ice Sprayers
When it comes to the actual machines that apply the liquid to the surface, there are several options. These different types of applicators work on the same basic principles with the primary difference between them being their size and the sophistication of the controls.
Skid Mount Sprayers
- Sizes: 50, 100, 200, 300, and 500 gallons
- These sprayers are designed for easy installation and removal, making them suitable for parking lots, side streets, driveways
- Made to fit in pickup beds, smaller 50 and 100-gallon skids can fit in UTVs/side-by-sides.
- Basic pressure-based controls used to manually control the sprayers output. Automatic rate controllers and GPS can be incorporated if desired.
Deice Skid Options:
Larger Sprayers for Dump Trucks
For larger-scale deicing operations, dump truck-mounted sprayers are essential. These sprayers offer greater capacity and coverage, making them ideal for highways and extensive road networks. Specific models and configurations can be tailored to meet the needs of different municipalities and road maintenance departments.
The primary feature of Dultmeier Sales’ larger de-ice sprayers is the ability to “self-load”. These 1065 and 1800-gallon sprayers feature heavy-duty steel leg frames. The front legs swivel as the truck backs up and the skid slides into the truck.
Self-Loading Sprayer Options:
De-ice Rate Control
Rate control refers to the method used to adjust the output of the sprayer. There are two primary rate control options: pressure based, and flow meter based. These systems help regulate the amount of deicer being applied, ensuring efficient use of the solution.
In a pressure-based control system, the output of the sprayer is controlled by changing the operating pressure of the sprayer. This can be done manually by adjusting a regulating valve or with an electronic regulating valve.
In a flowmeter-based system, you control the output of the sprayer with an electronic regulating valve. Typically, this is done automatically via a rate control console. Automatic rate control allows you to input your parameters and desired output per lane mile. The system will automatically adjust to maintain your application rate if it is within the flow capacity of your nozzles.
View Rate Control Options for De-Ice/Anti-Ice Sprayers
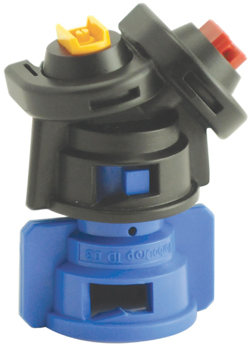
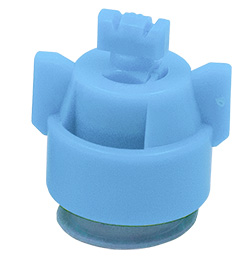
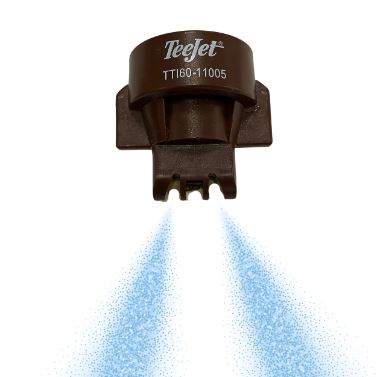
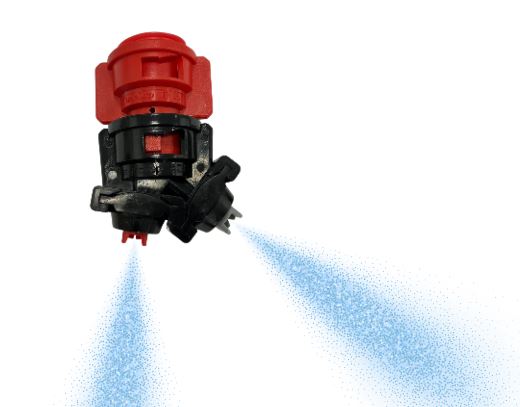
De-Ice/Anti-Ice Spray Nozzles
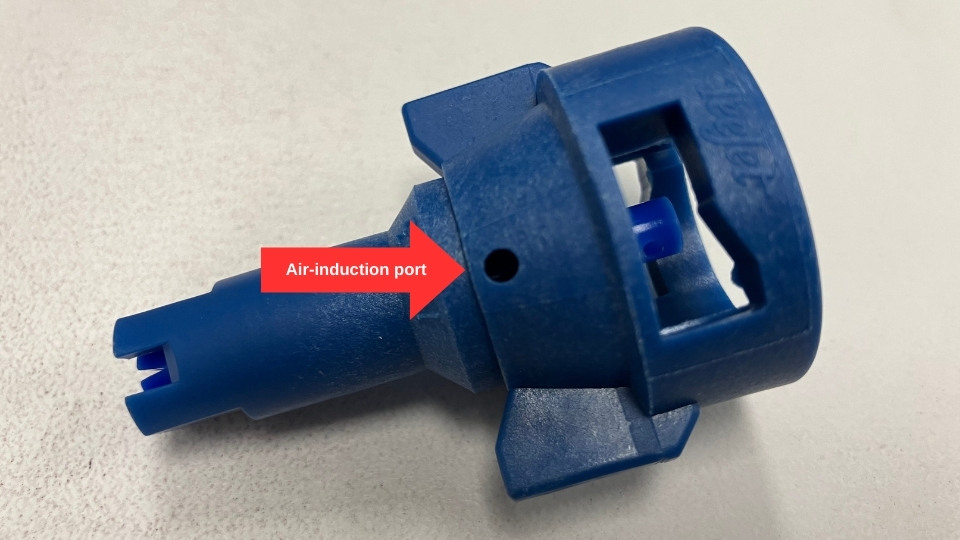
The nozzles used on a de-ice/anti-ice sprayer should be poly or stainless steel. Stainless steel is the most durable option. Nozzles are available in different spray patterns to accommodate various scenarios. The most common nozzles are solid stream nozzles, flat fan nozzles, and flood nozzles.
Flat fan nozzles and flood nozzles are ideal when you want to completely cover a surface to prevent ice and snow buildup. Solid stream nozzles are used in de-ice applications. They do not cover the entire surface, rather they deliver a directed spray to penetrate ice/snow on the road. The idea is to get the liquid under the snow and ice to the road surface to melt from the bottom and allow sunlight to work on the top layer.
Solid stream nozzles can also be effective for anti-ice or prewetting applications. When using these nozzles, there are gaps on the surface between treated areas. This method is a safety precaution in extremely cold temperatures to prevent the entire road surface from becoming a sheet of ice should the liquid solution freeze. The untreated strips provide dry, ice-free areas for drivers.
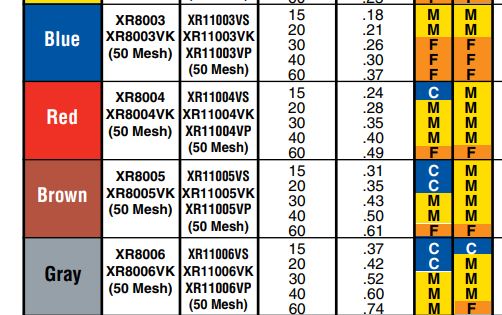
Nozzle Sizing
The rate control system is used to adjust your output, however the nozzles on the sprayer ultimately dictate the flow rate. Nozzles come in a wide range of sizes, and you must calculate the correct size based on the gallons of liquid you want to apply per lane mile, 1000 square feet, acre, etc.
If you need help sizing your nozzles you can reach out to us with your application rate (gallons per lane mile, per 1000 sq ft, etc.) and we can help you.
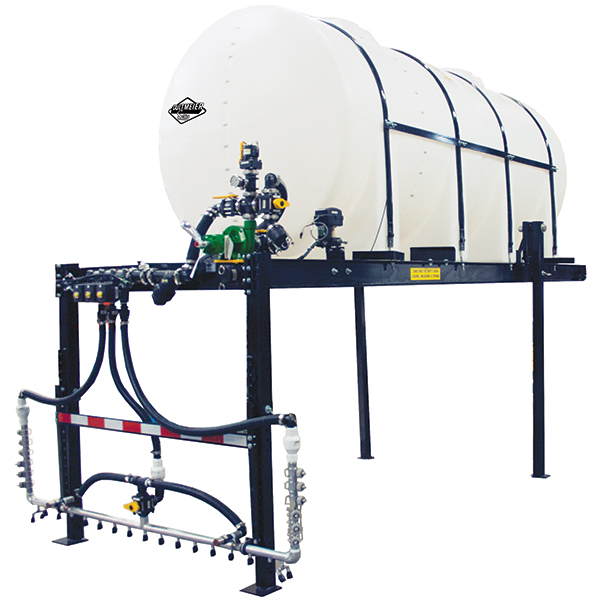
Brine Production System
An efficient brine production system is the backbone of any deicing operation. These systems are designed to produce large quantities of salt brine quickly in a cost-effective manner. Key components of a brine production system include:
- High rate of production
- Mechanism to ensure the correct concentration of the brine solution
- Ability to clean out sand/debris easily so you can get up and running again
- Durable and reliable
- Easy to operate controls
Dultmeier Sales manufactures a completely stainless steel brine production system that is extremely easy to operate and clean out. If you would like more information, please let us know, we would be glad to help!